    
|
 |
|
| |
"Often
one plans and builds something
that later shows itself to be less interesting or
of less value than originally anticipated.
Occasionally the reverse is true: the product
proves better than hoped for."
(John Allen, Model Railroader, November
1972)
|
| |
|
| |
My Z Scale layout is
entirely the result of "trial and
error" and a long journey of "back and
forth".
|
| |
|
|
Much
of what has materialized
in the end happened to do
so because my initial
idea didn't work at all
or simply because I
changed my mind.
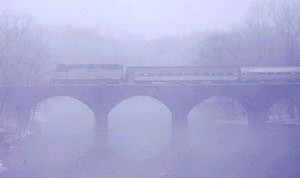
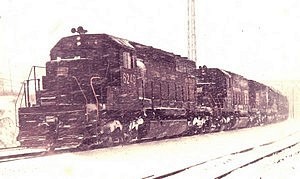
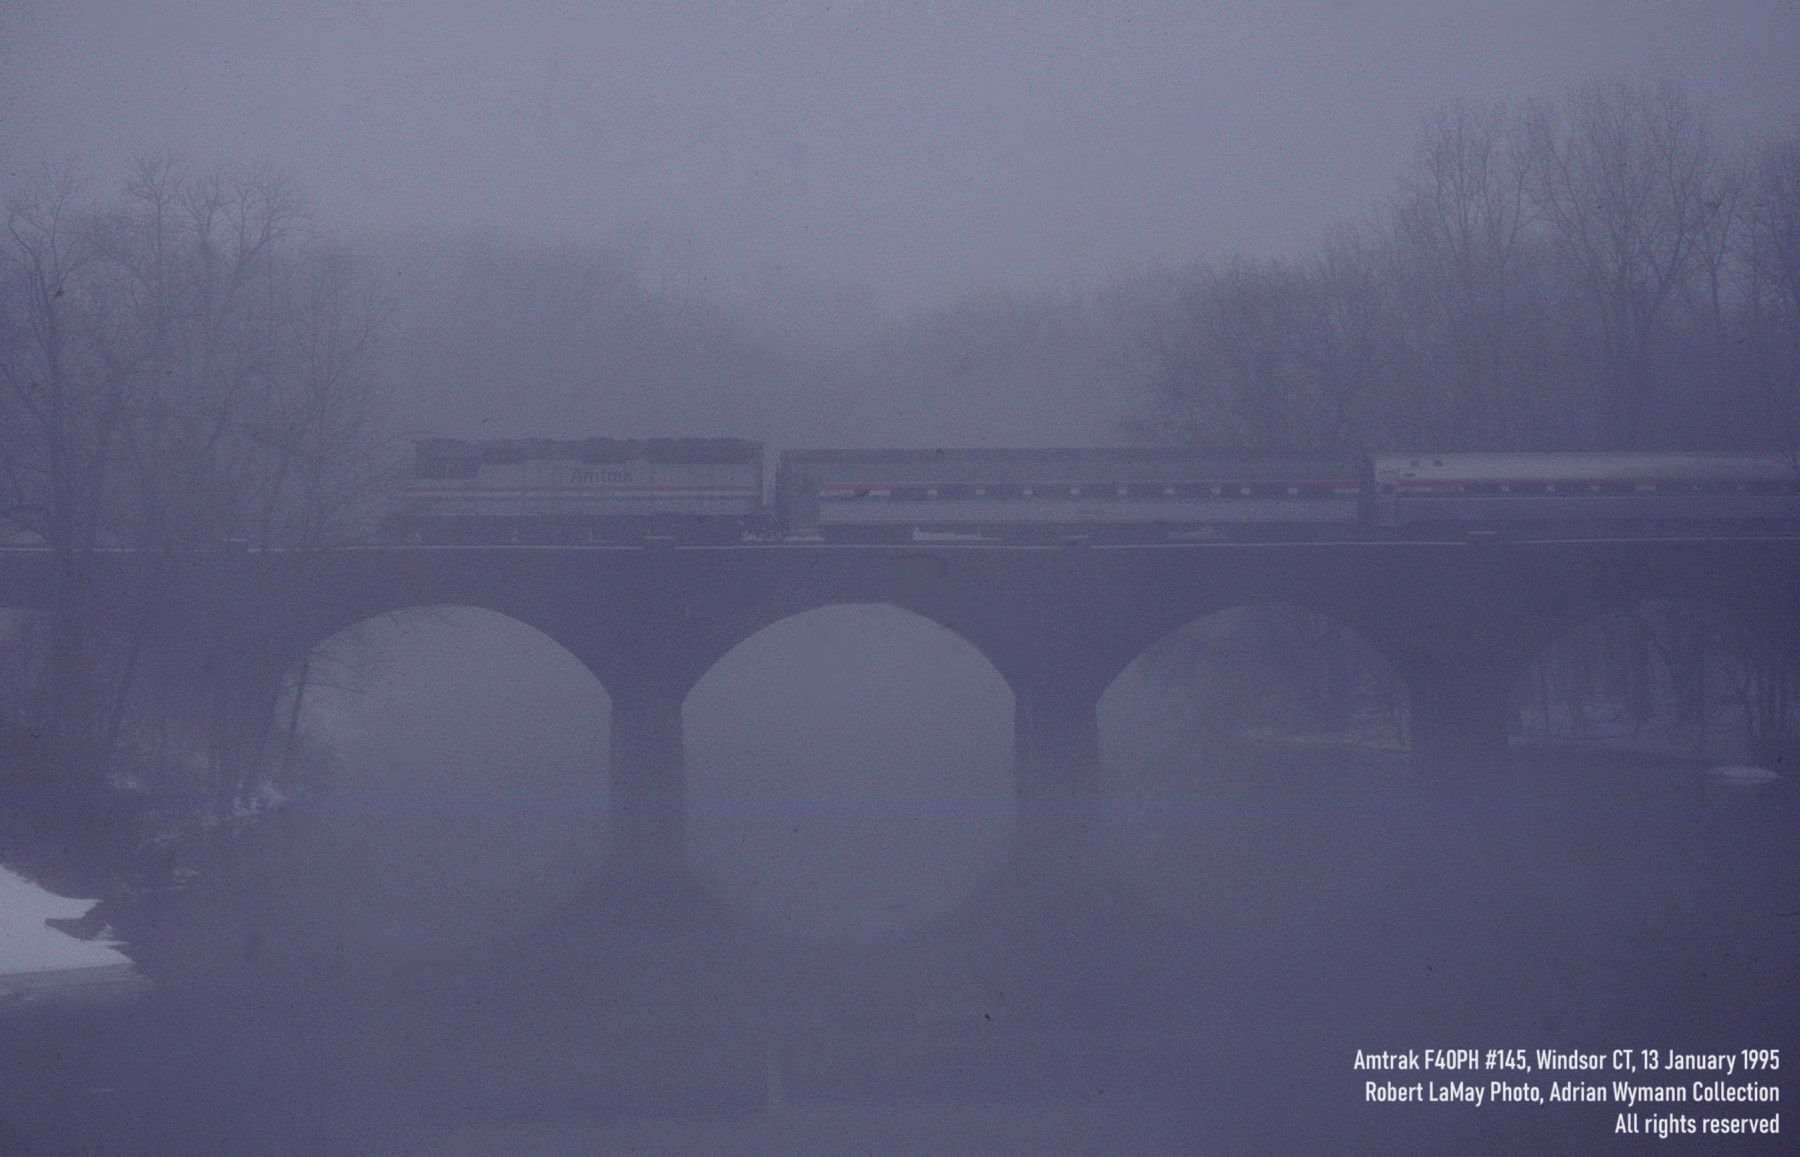
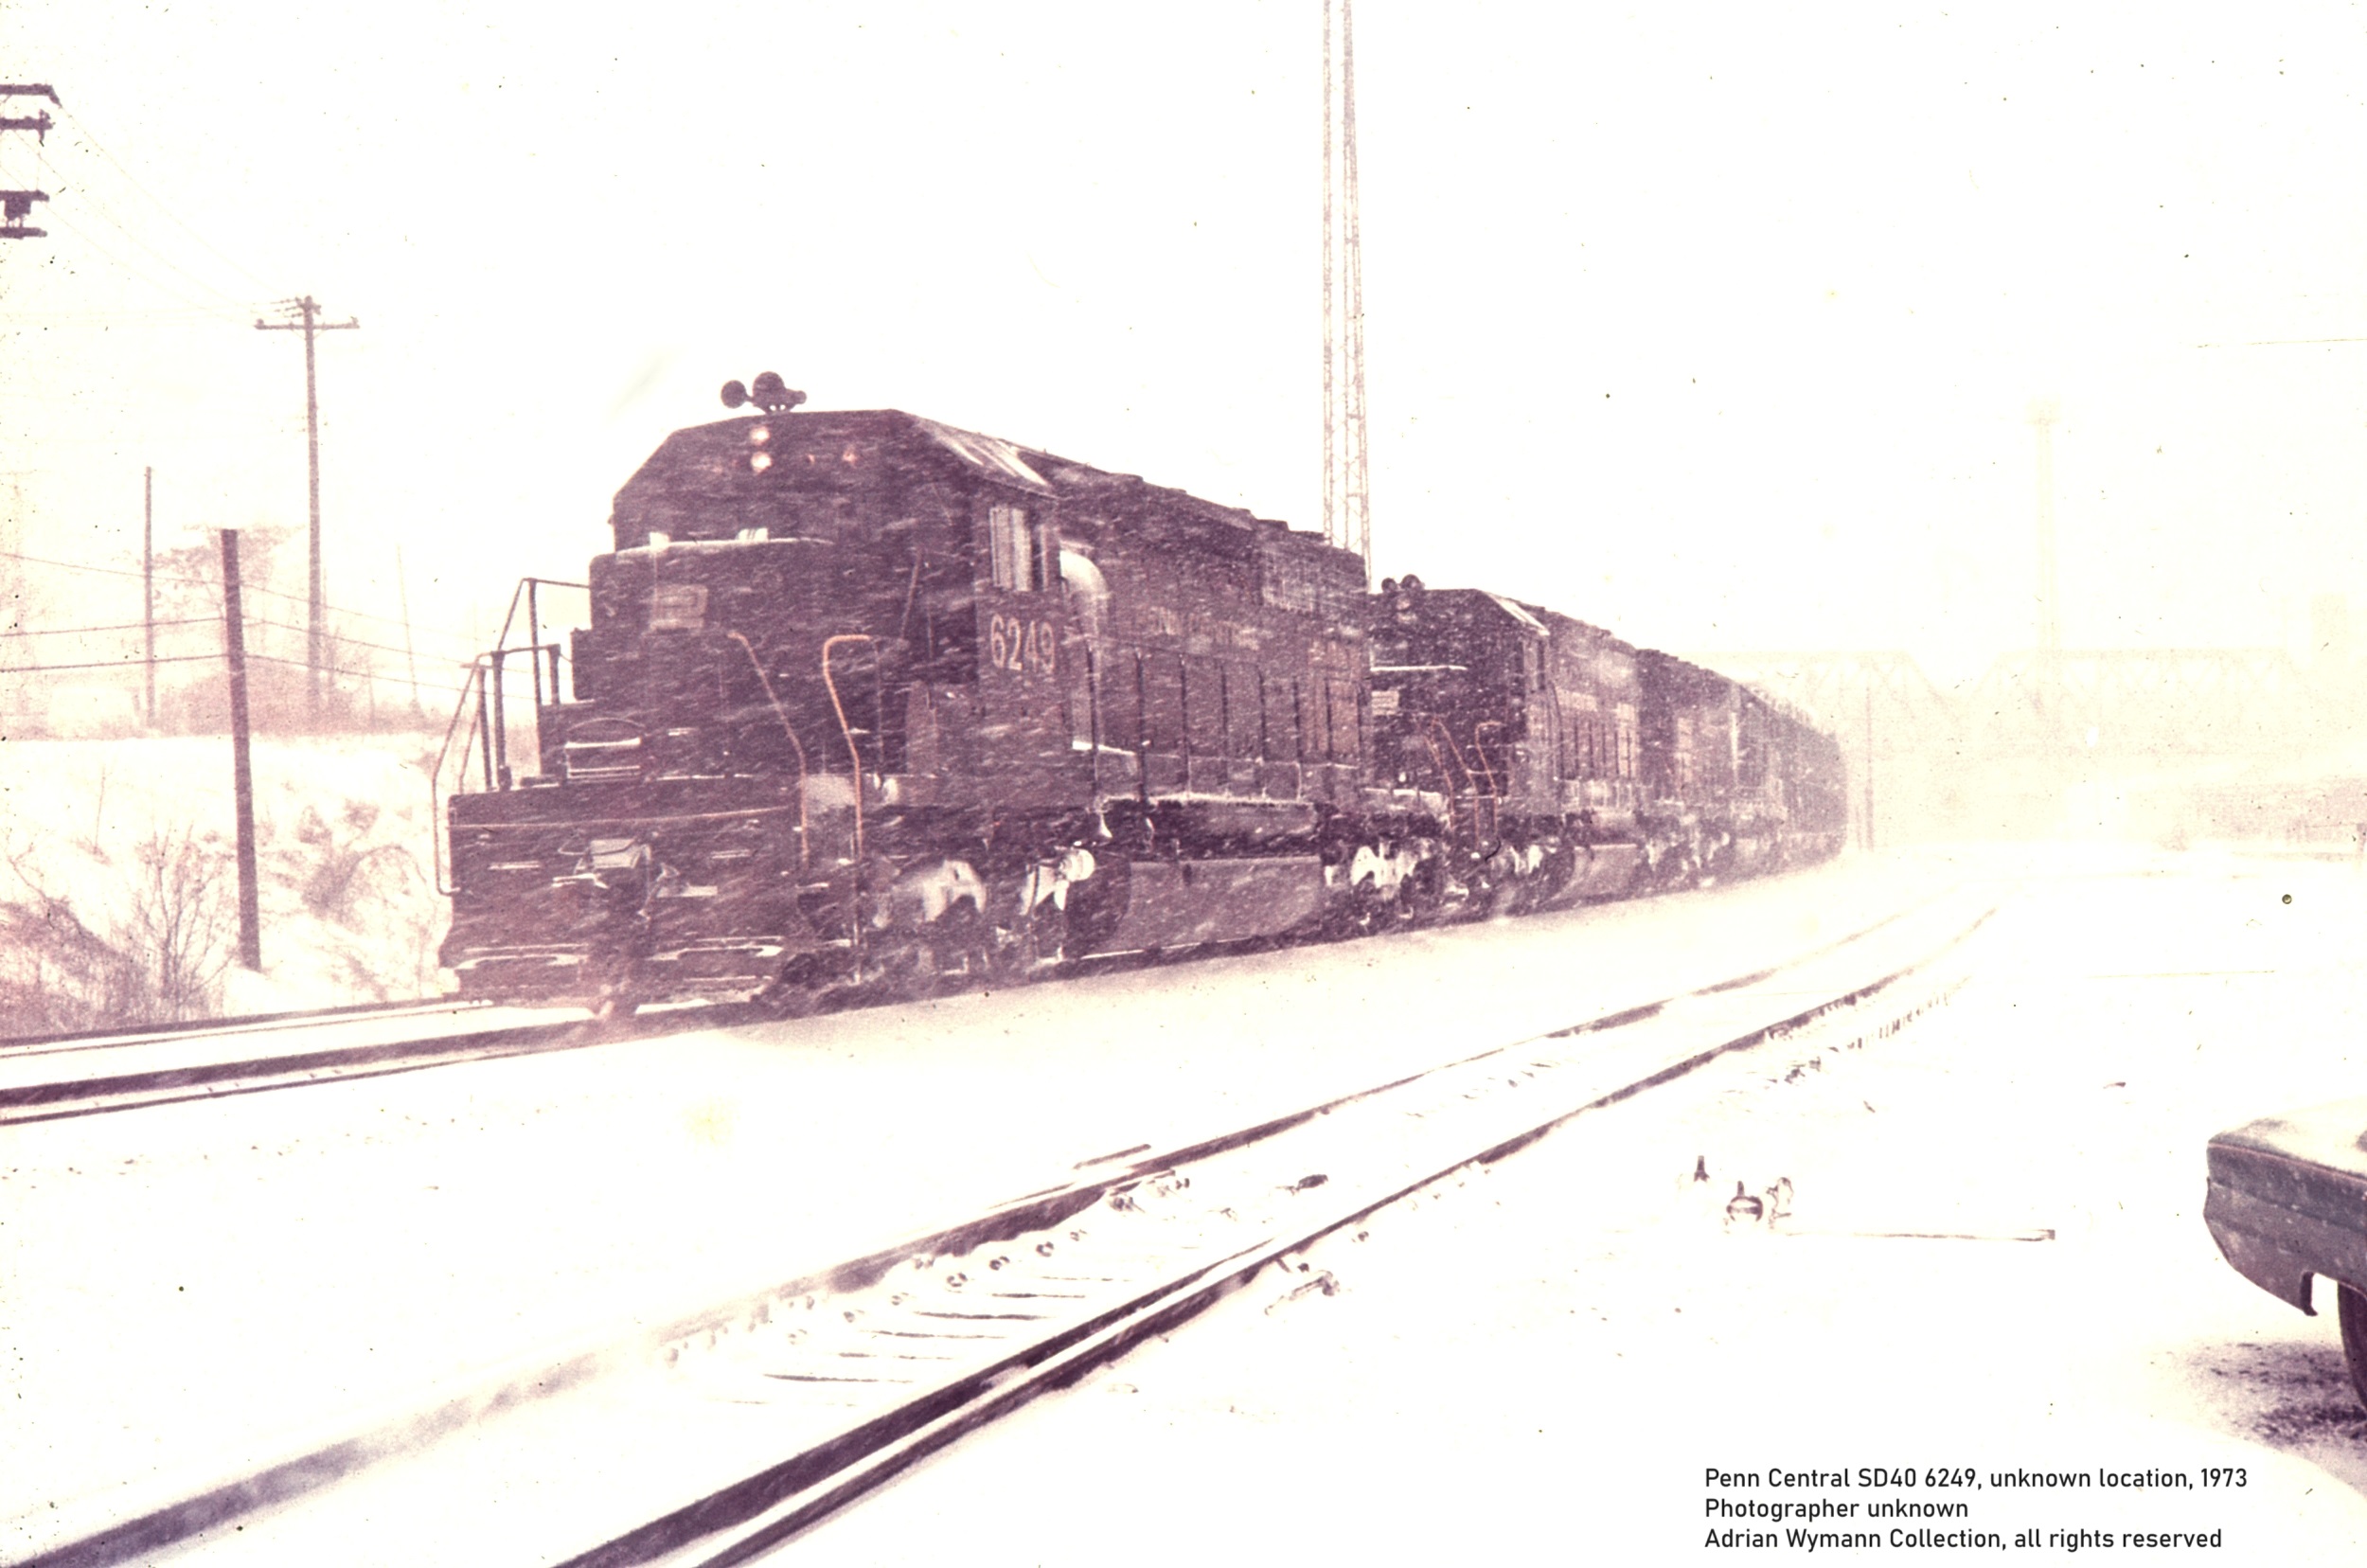
At
times it was like seeing
only a hazy shade of a
distant train in the fog,
other times it felt like
pushing on with a fast
freight through a
snowstorm wipeout.
|
|
|
|
|
|
|
| |
But it all came
together in the end - the result of
"accidental modelling".
|
| |
| |
 |
THE
LURE OF THE CONTINUOUS RUN
|
|
|
|
| |
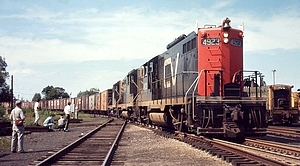
| Something
that separated real trains from model trains
since the latter's inception was the direction
their travels would take them in. In the real
world, trains would travel from A to B, whereas
model trains generally just ran around in
circles. |
| |
  |
|
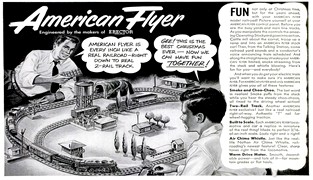
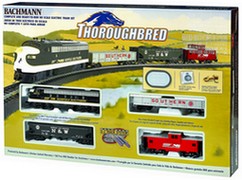
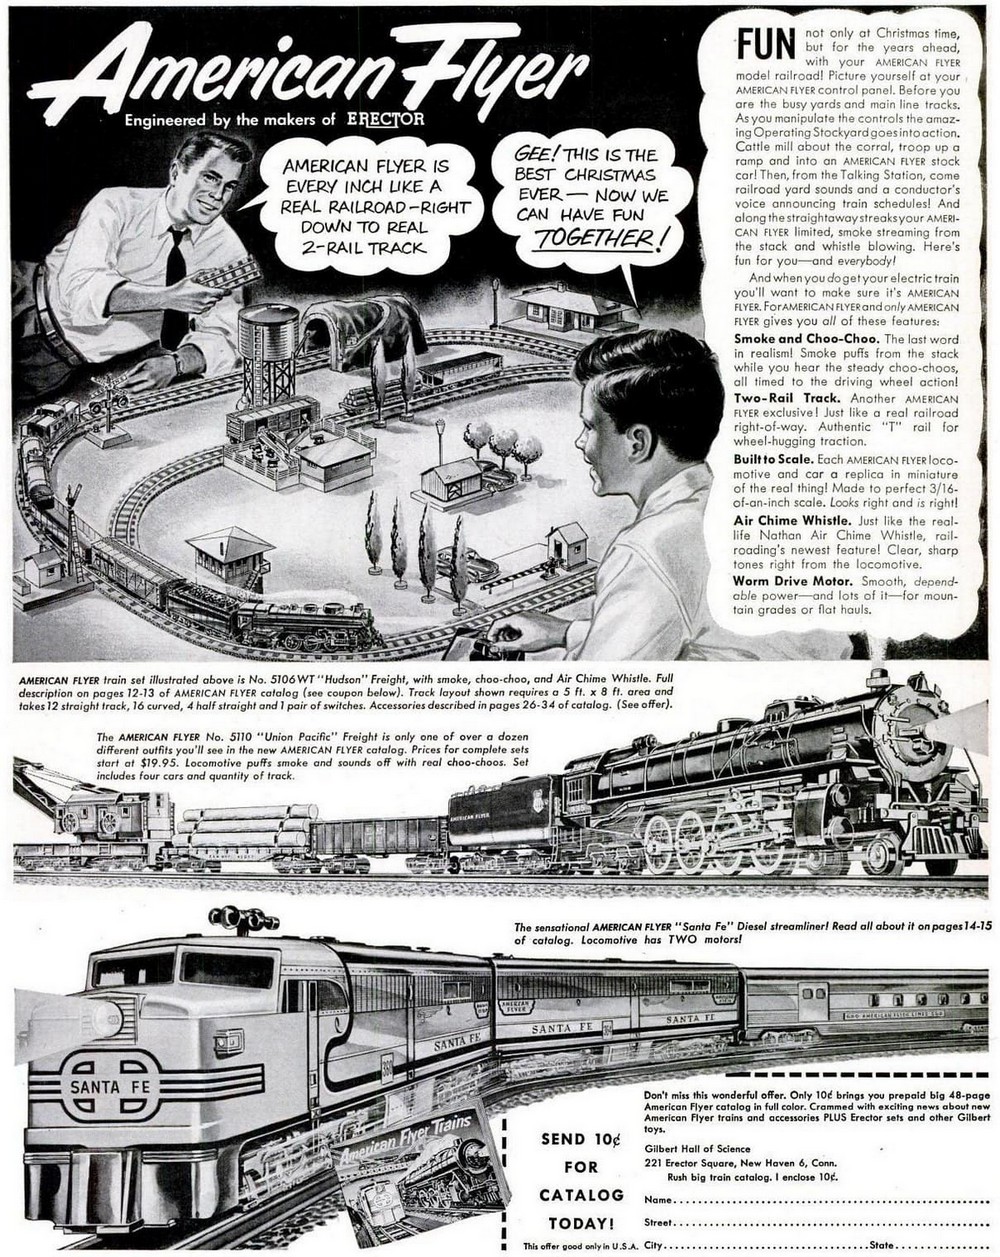
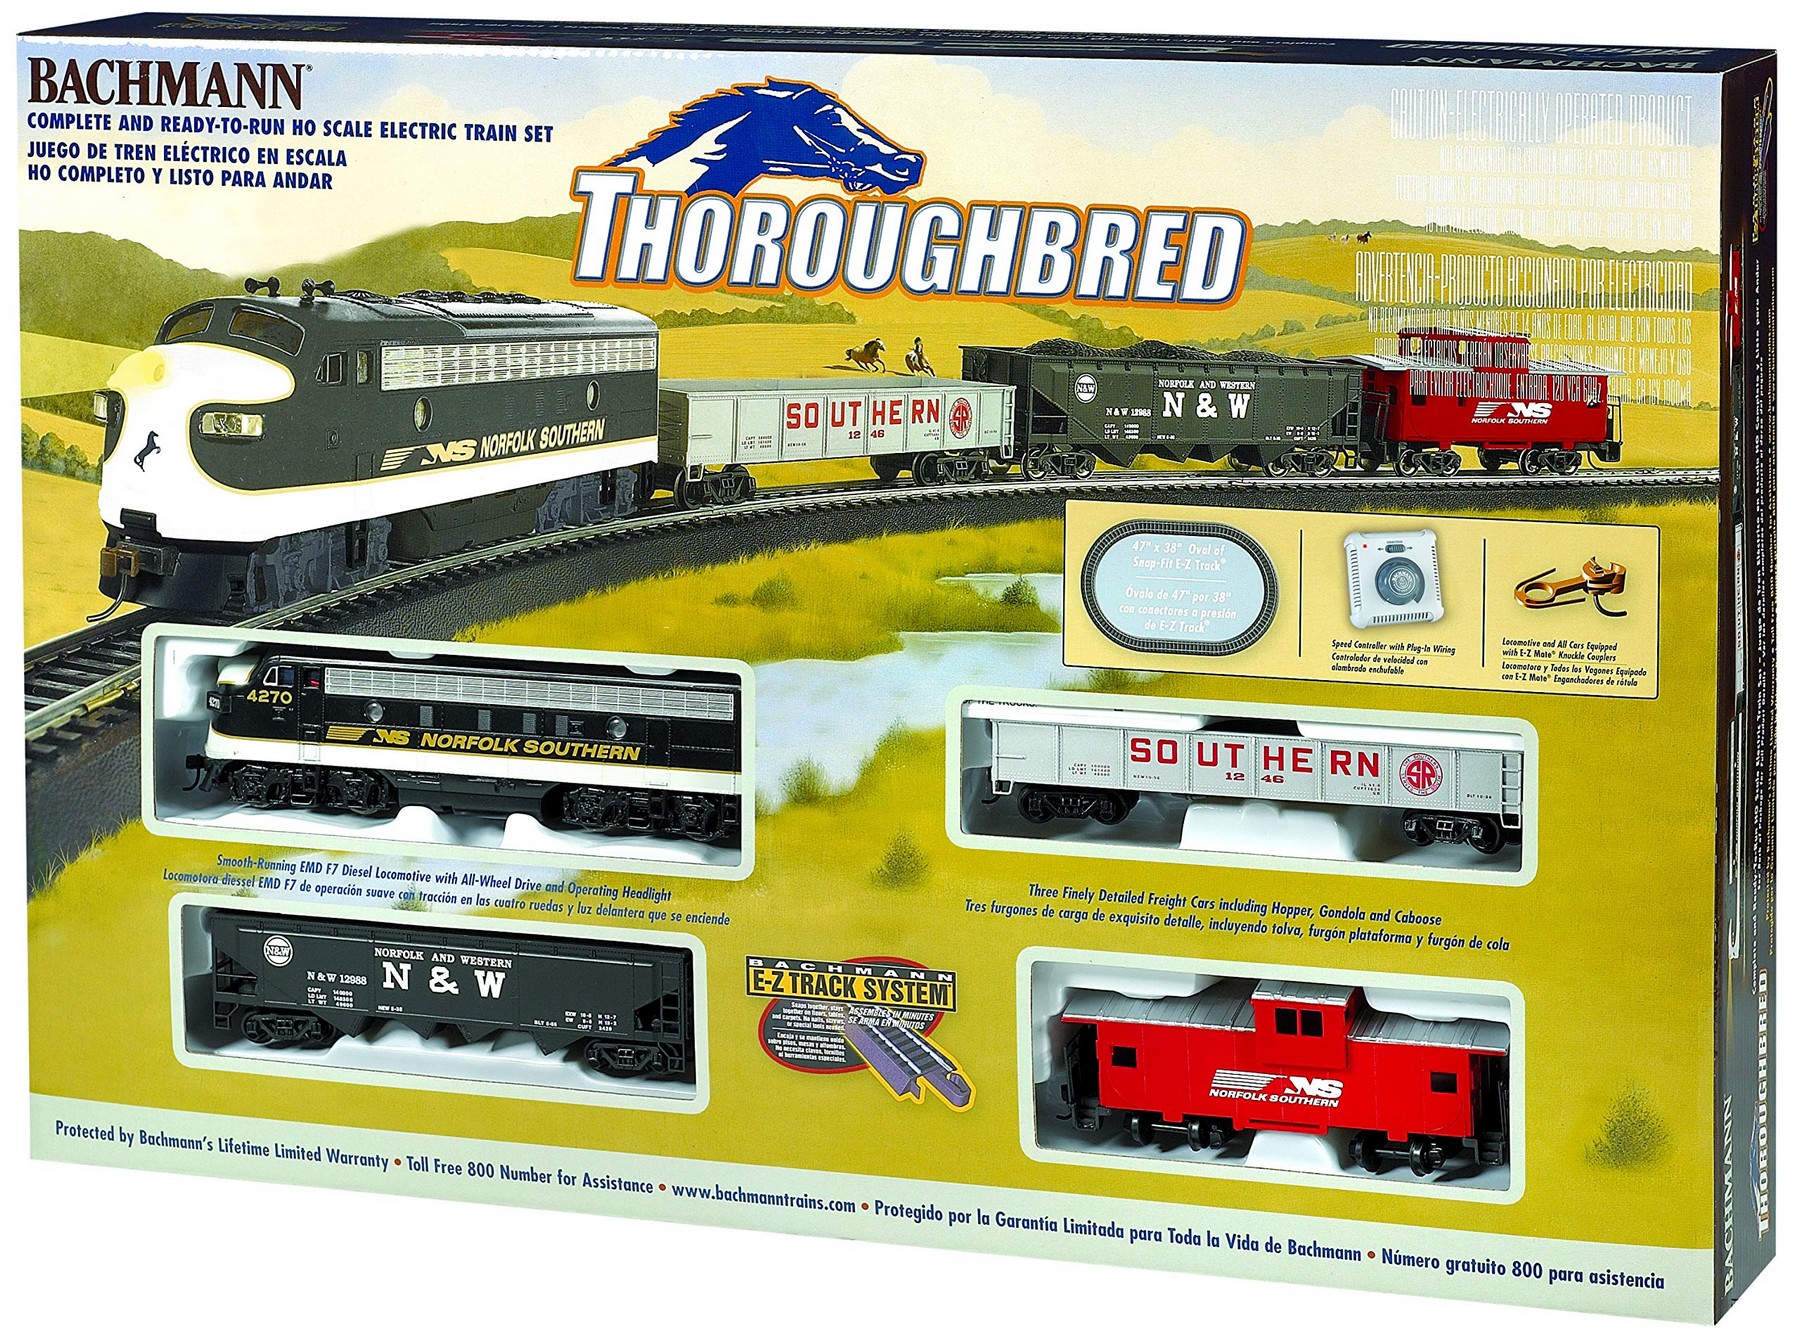
No
matter the scale, the brand or the style,
"starter sets" have come with
either a circle or an oval of track for
decades. As boys playing with toys
evolved into serious modellers, the
starter set's oval of track was
recognised as being very far removed from
actual train operations, subsequently
frowned upon, and finally given the
derogatory labels "toy set" or
"tail chaser".
|
|
| |
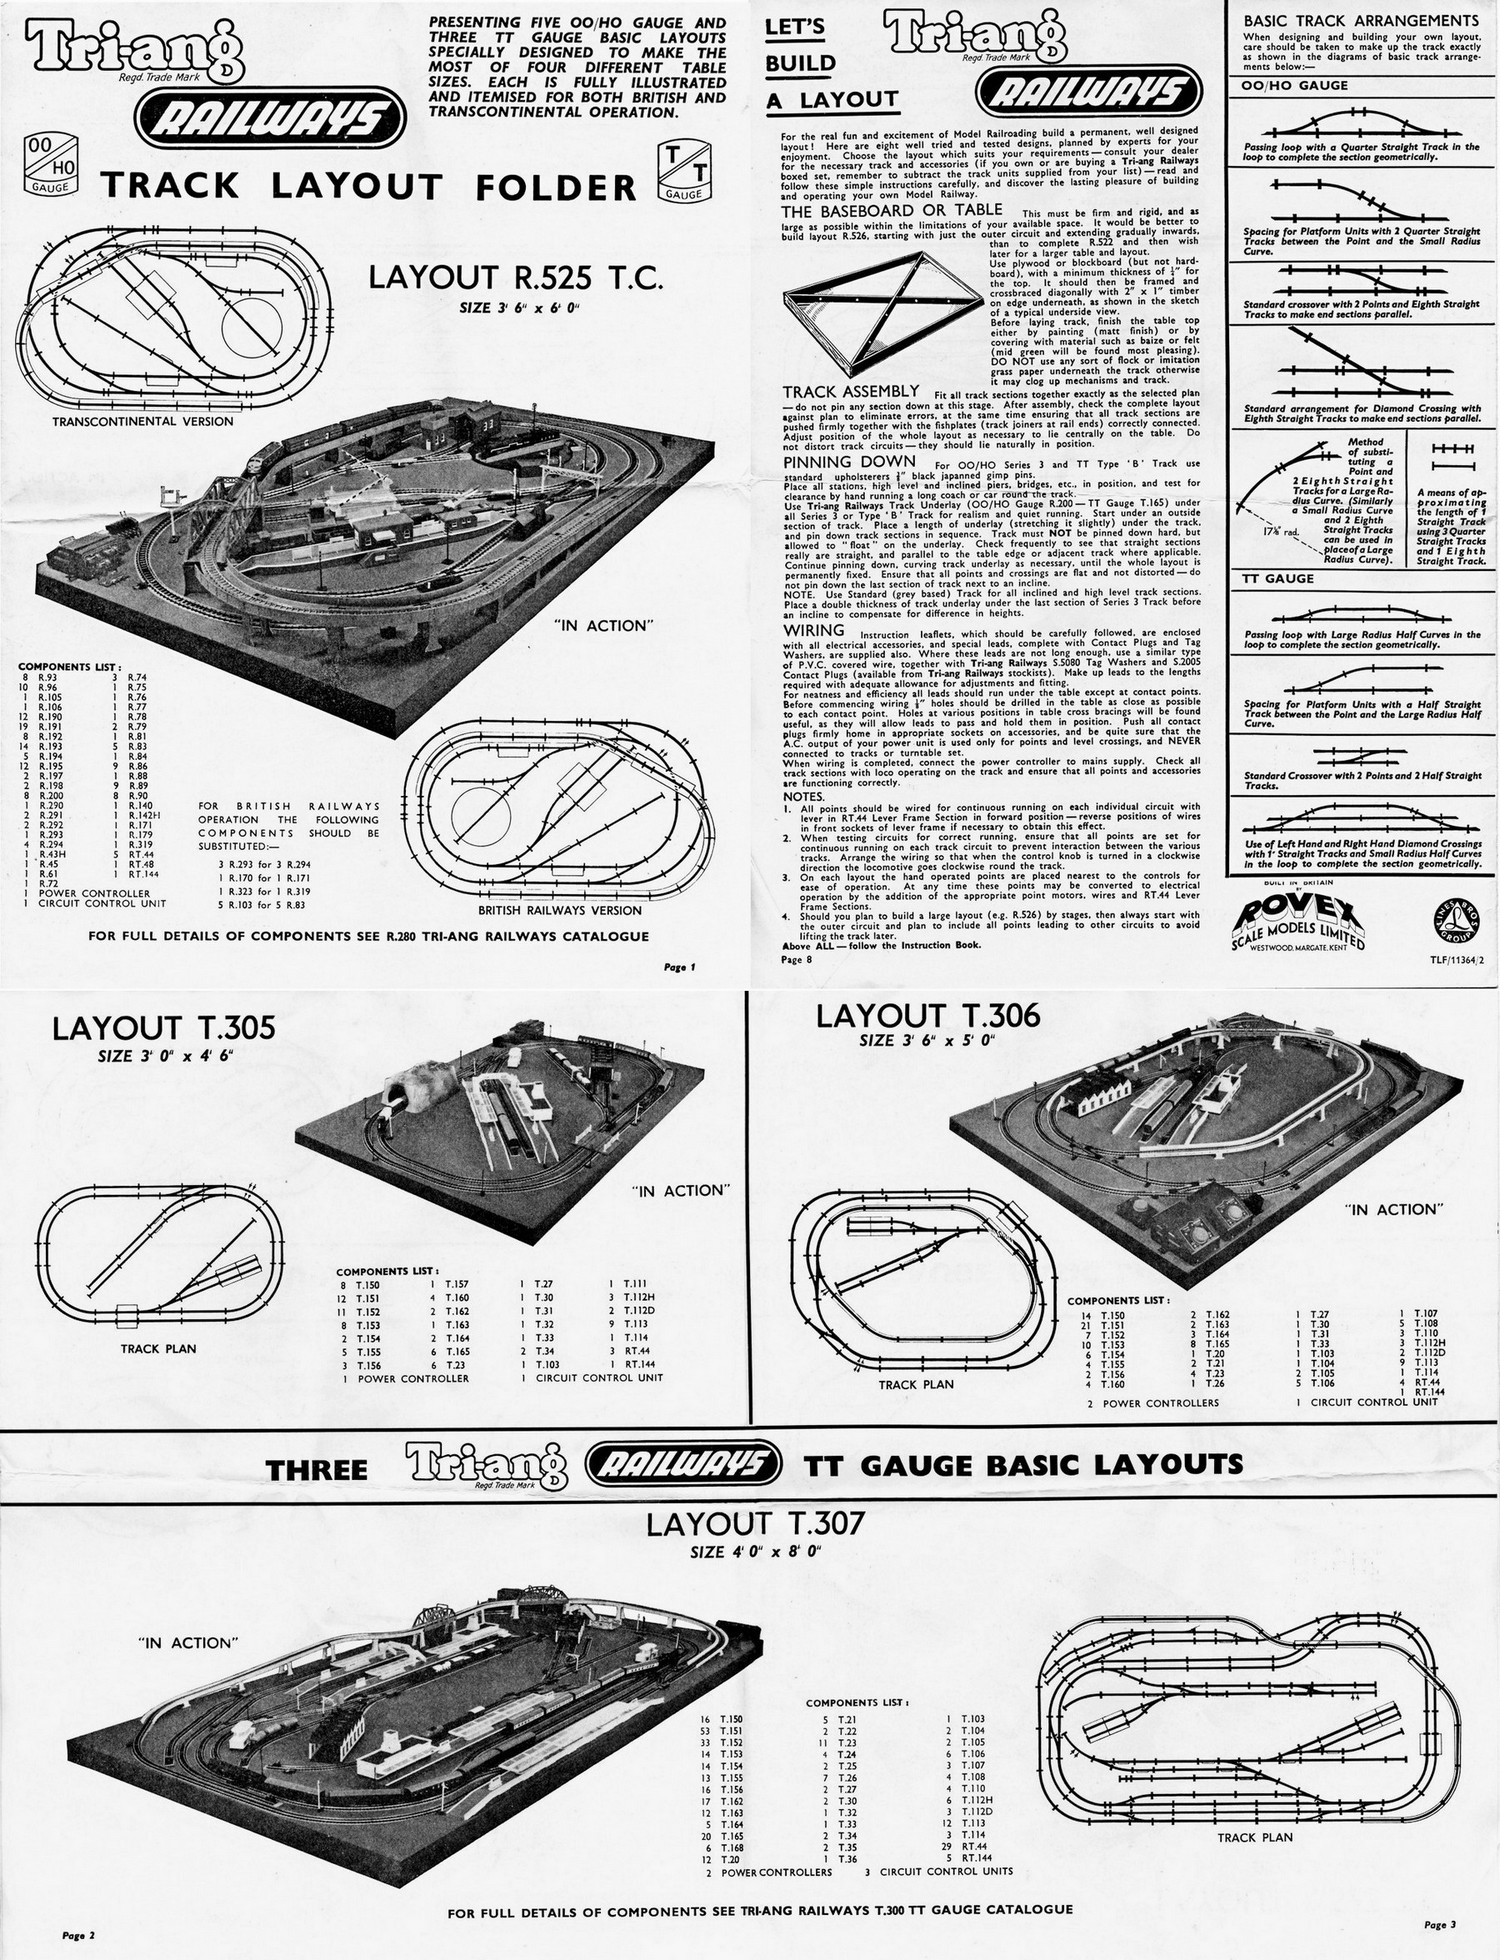
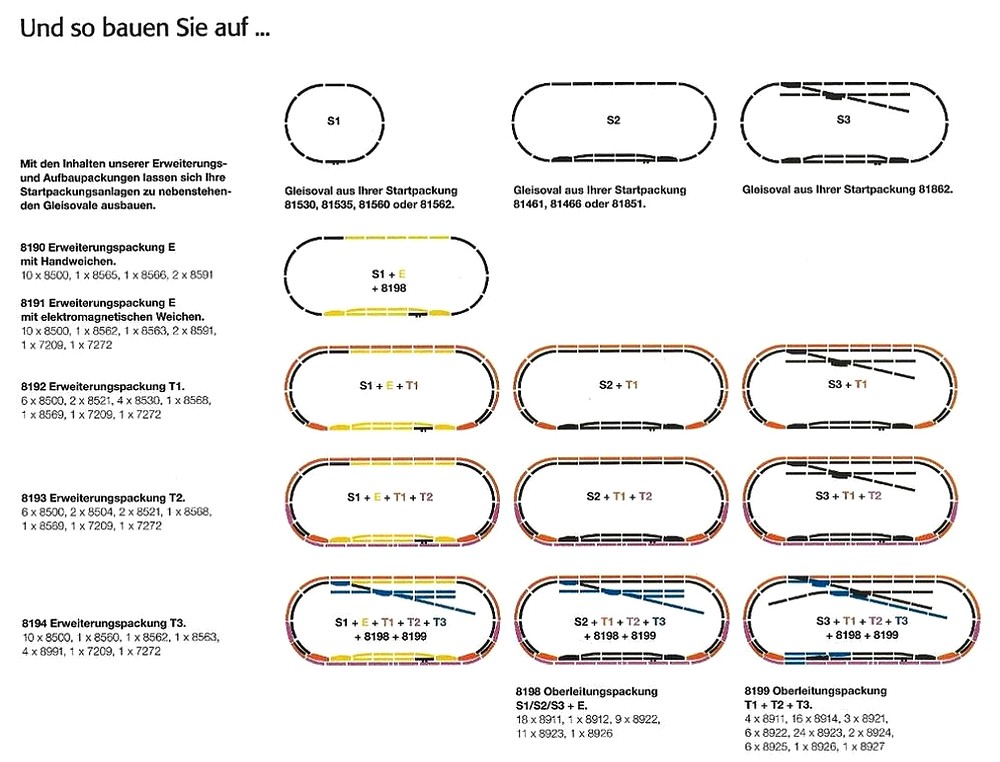
| In
an attempt to elevate it far above and
away from the toy train set, the term
"continuous running" was
coined, and serious modellers built some
serious layouts which strived to
camouflage as best as possible the fact
that trains ran in circles. The companies
making model train starter sets also
tried to improve the perception of the
basic oval, by adding double and triple
track running as well as more and more
complex yards and sidings - all provided
for, step by step, through
"expansion packs" of track to
this day. Individual railway
modellers came up with more prototypical
linear layouts very early on in the
hobby's history (such as A. R. Walkley in the mid-1920s or Cyril J. Freezer in the 1950s), but the
happy memory of watching trains pass by
(albeit in a repetitive circle) persisted
in many railway modellers.
|
|
|
|
| |
 |
|
The lure
of continuous running is
at least partly rooted in
its resemblance to what a
person standing trackside
in the real world sees: a
train approaches from one
side, runs by, and then
disappears to the other
side of the onlooker's
position. Even though it
happens over and over
again on an oval of
track, the passing train
essentially recreates
this scene. It also
allows for a very relaxed
experience - with the
controller set to a fixed
speed, the assembled
model train will simply
loop around the track
without any further
handling needed. However,
one of the major problems
with continuous run
layouts is the space
required to accomodate
them.
|
|
|
|
| |
| They
are space hungry because they have to
accomodate semi-circles of track; in the
most popular modelling scale of HO/OO,
even using the fairly tight so-called 2nd
radius curves requires a minimum board
width of at least 100cm (40 inches) -
although this will give very little room
outside the track for e.g. scenery, so
actually a baseboard width of 120cm (48
inches) is called for. Having
(too) many hobbies that all require space
has put me in a position of lacking an exclusively
designated, permanent "model railway
space" for most of the time. And
whilst this introduced me to "shelf layouts" and
"shunting puzzles", the lure
and pull of the continuous run layout
with its trainspotting perspective always
remained, and strongly so.
|
|
 |
|
| |
| |
|
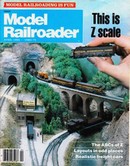
Z SCALE: DESKTOP
RAILROADING
|
|
|
| |
| Lack of space has always been one of the
main reasons for the development of smaller model
railway scales (such as the introduction of TT
(1:120/1:130) in 1945, and N (1:148/1:160) in
1962), but at a scale ratio of 1:220, Z Scale
offers the possibility of running trains in a
confined amount of space which simply would not
be possible in other modelling scales. |
| |
 |
|
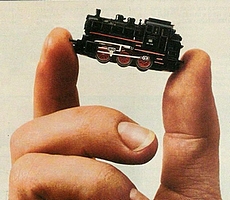
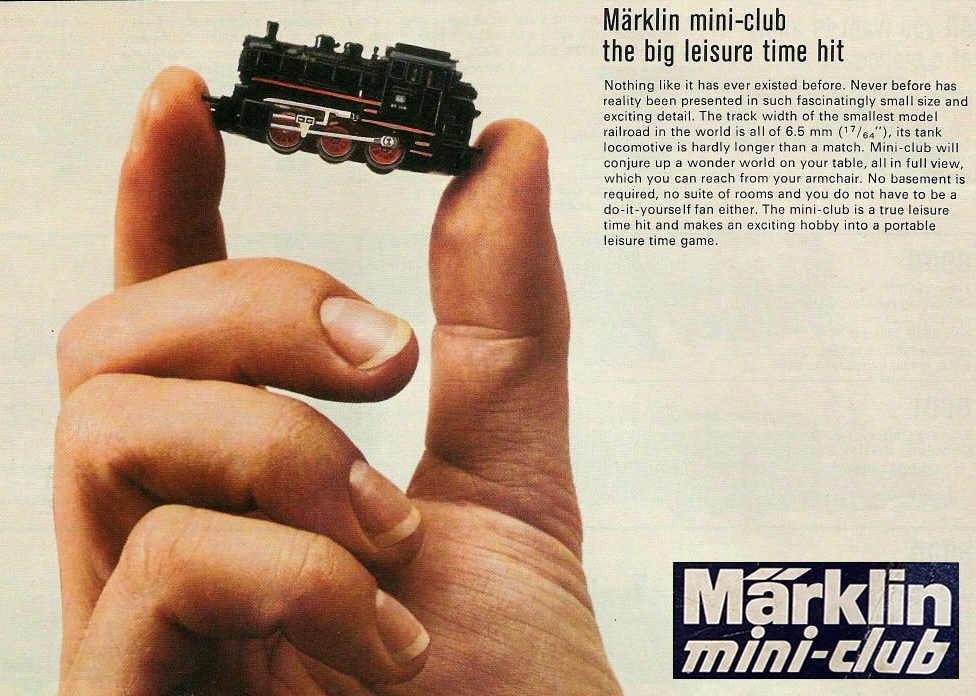
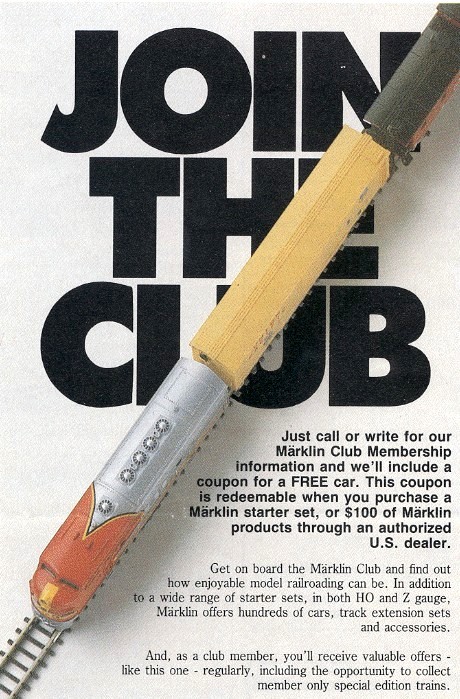
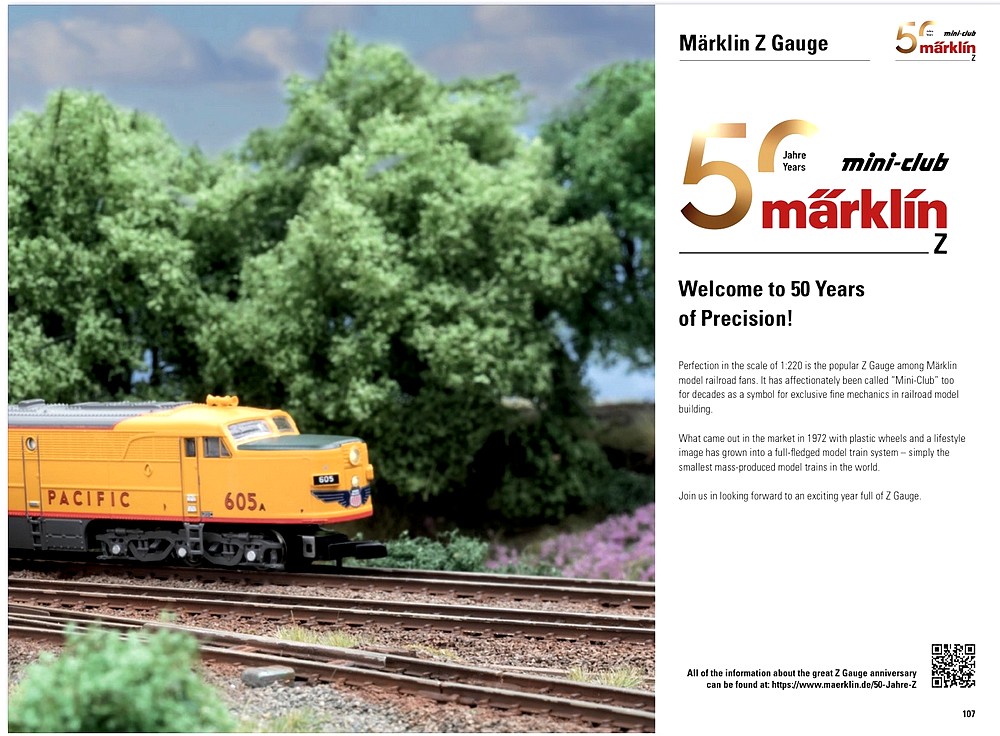
In
promoting Z Scale, Märklin
thus always emphasized
the smallness of the
models; besides choosing
the last letter of the
alphabet to designate the
scale, they also used the
moniker "mini-club".Initial
advertisements also made
certain to point out the
advantages in comparison
to the traditional space
(and skill) requirements
of larger modelling
scales.
"Nothing
like it has ever existed
before. Never before has
reality been presented in
such fascinatingly small
size and exciting detail
(...) Mini-club will
conjure up a wonder world
on your table, all in
full view, which you can
reach from your armchair.
No basement is required,
no suite of rooms and you
do not have to be a
do-it-yourself fan
either. The mini-club is
a true leisure time hit
and makes an exciting
hobby into a portable
leisure time game."
|
|
|
|
|
|
| |
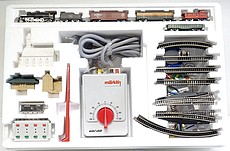
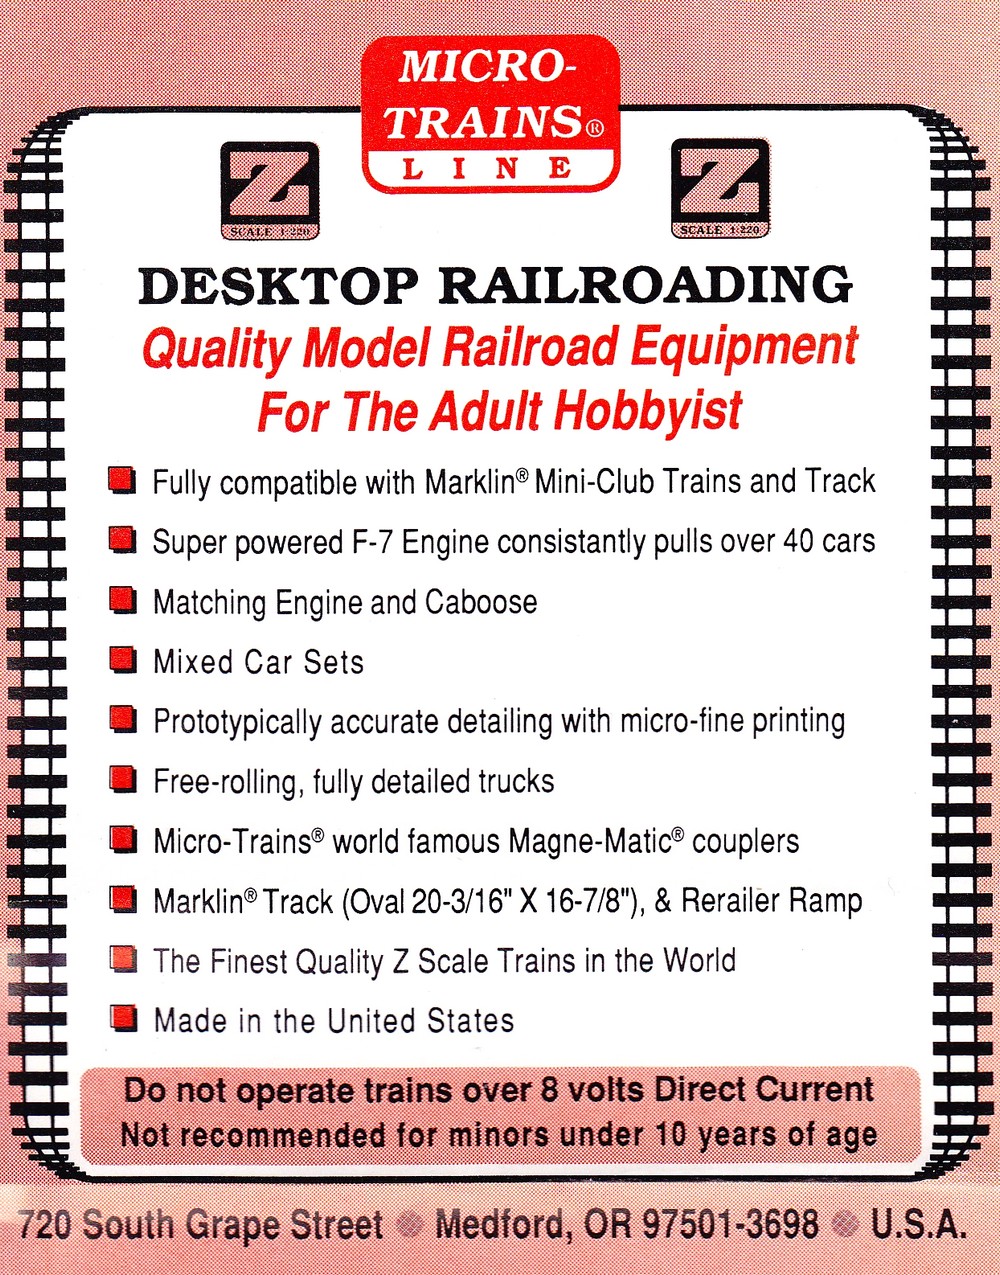
| Micro-Trains, on the
other hand, sold their US Z Scale train sets back
in the 1980s and 1990s as "desktop
railroading". Either way, modellers had
to be introduced to Z Scale, and starter sets for
continuous running on a circle of track were the
traditional and proven ticket. |
| |
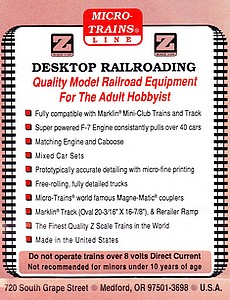
Micro-Trains, 1992
|
|
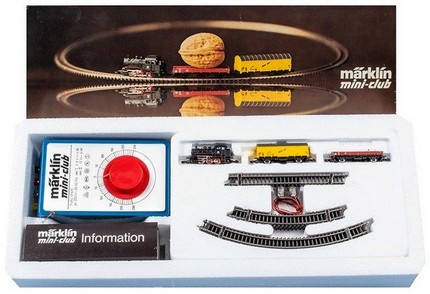
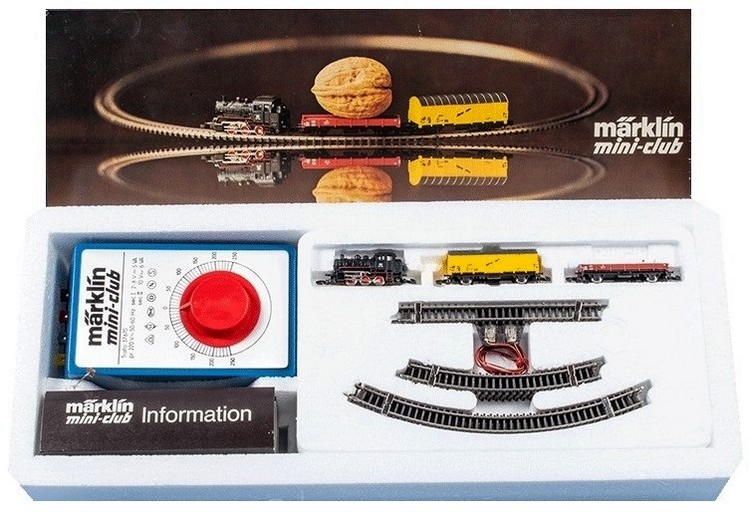
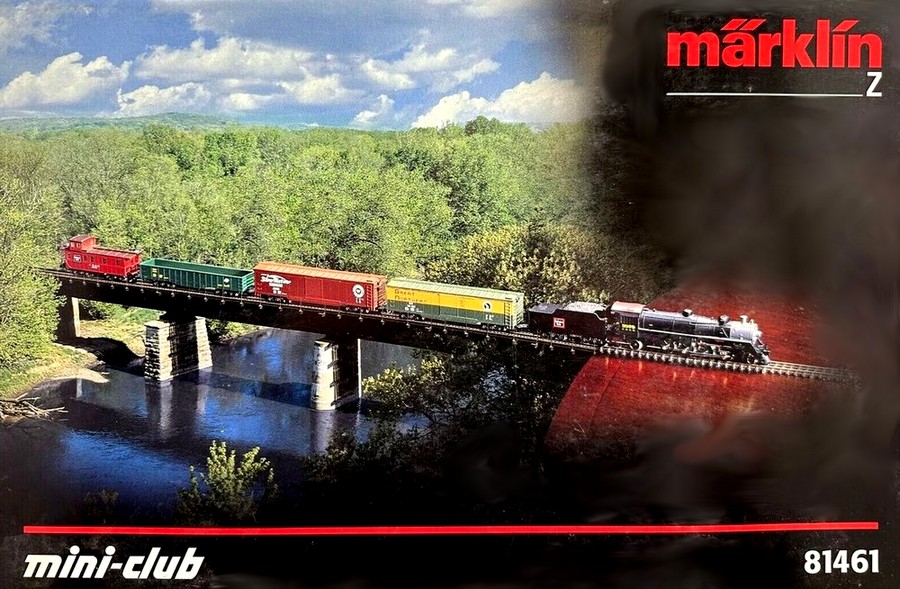
Märklin's
starter set with the diminutive
BR89 0-6-0 steam locomotive has
been on offer (with occasional
technical upgrades) since 1972
|
|
Märklin, 1986
|
|
|
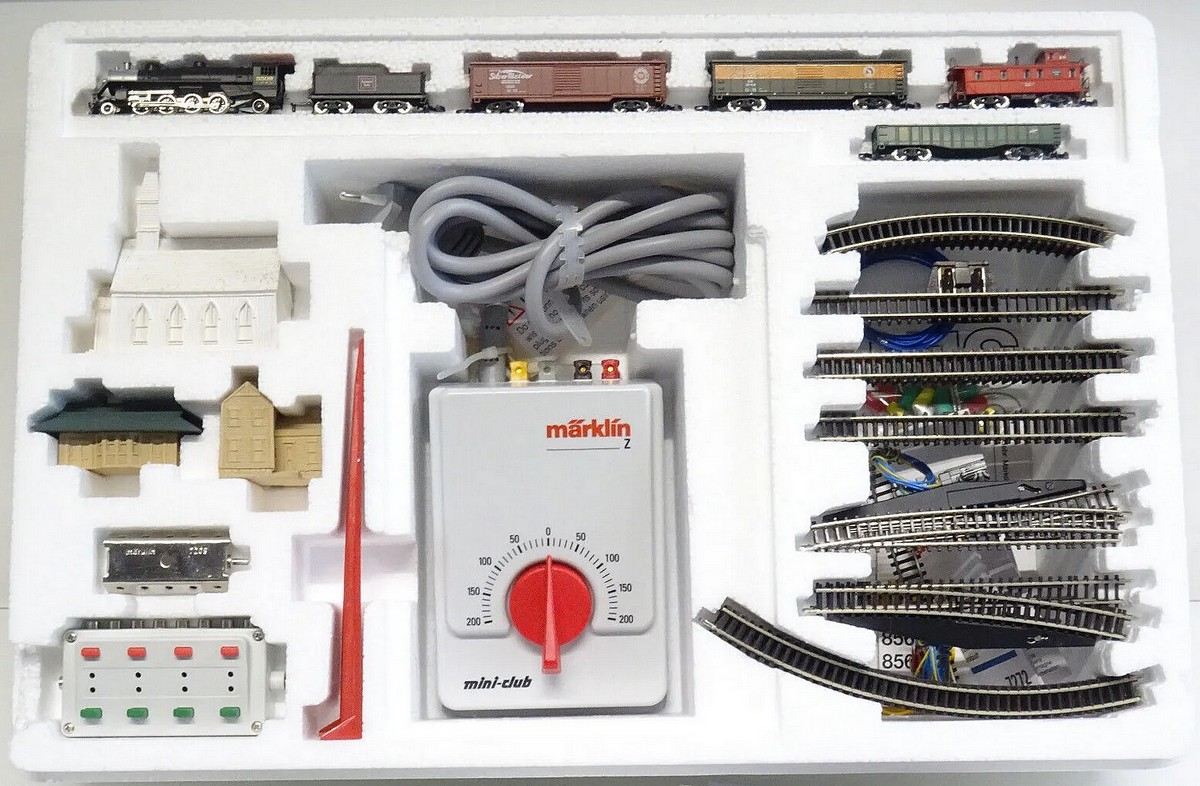
| |
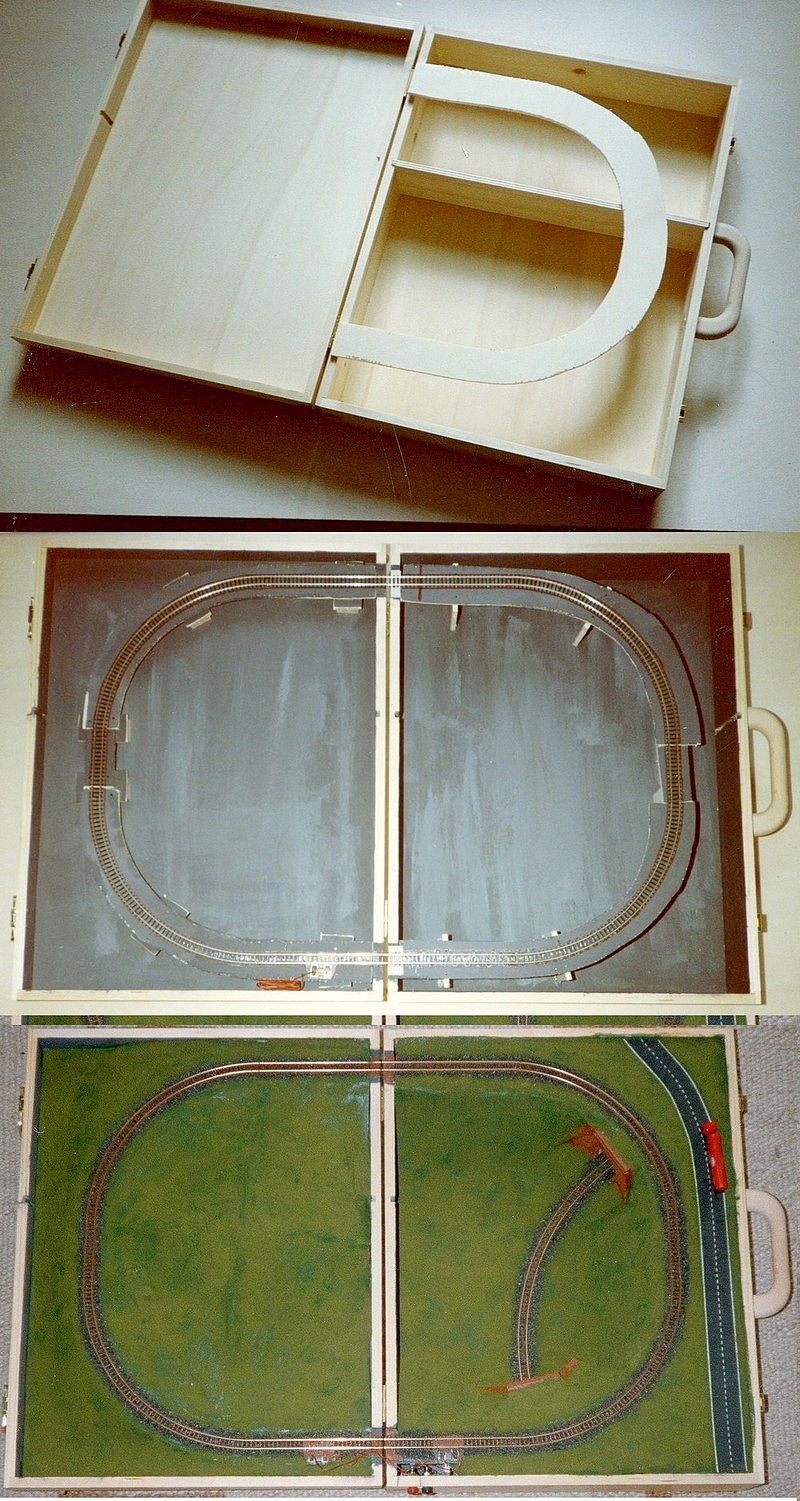
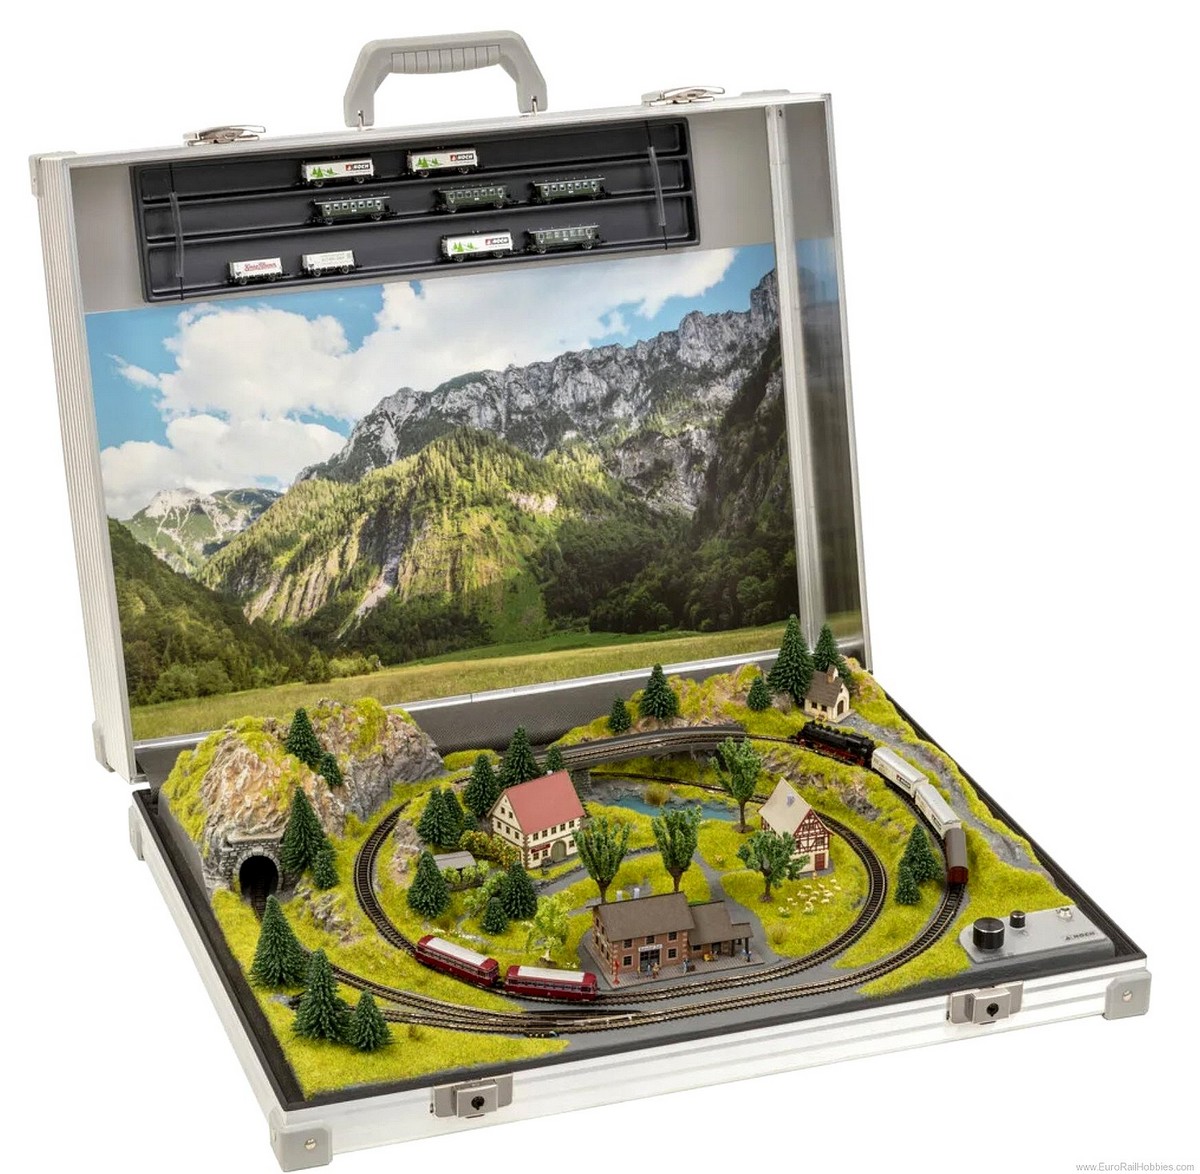
| The initial starter sets from Märklin
and Micro-Trains (containing Märklin track) came
with track ovals measuring only 51x44 cm (21x17
inches), and those small round-and-round layouts
became something of a calling card for Z Scale,
with some of them even finding sufficient space
within the confines of a briefcase. |
| |
|
|
As the years progressed, some of
Märklin's starter sets grew to to
include more track and turnouts (and in
some cases even two trains), but for
obvious reasons they always stuck with
the formula of the continuous run oval of
track.
I initially saw Z Scale
as nothing more than a gimmick; putting
together a briefcase layout seemed like the obvious
(and only) thing to do in order to see
the models run.
|
|
|
|
| |
| However,
once I actually got to run a few Märklin and
Micro-Trains models in the early 1990s, I started
to view Z Scale as a potentially serious
modelling scale. I was sold on desktop
railroading, but there had to be more to it than
just a simple circle of track. |
| |
| |
|
LOOP
TO LAYOUT TO NO LAYOUT
|
|
|
|
|
|
| |
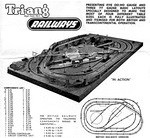
| The
logical progression from the basic (starter pack)
loop of track is to build something a bit more
complex and interesting. Several "shake the
box" ready-to-run options are available,
ranging from Märklin's track extension packs to preformed scenicked layout
bases (some even contained in the (in)famous briefcase). They provide modellers with
layouts that could be compared to painting
pictures "by numbers": they are built
following reasonably straightforward
instructions, but the end result will be a layout
that is replicated by hundreds of other modellers
with very little room for individual touches. |
| |
 |
|
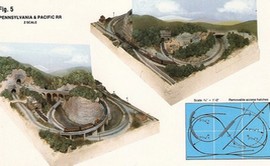
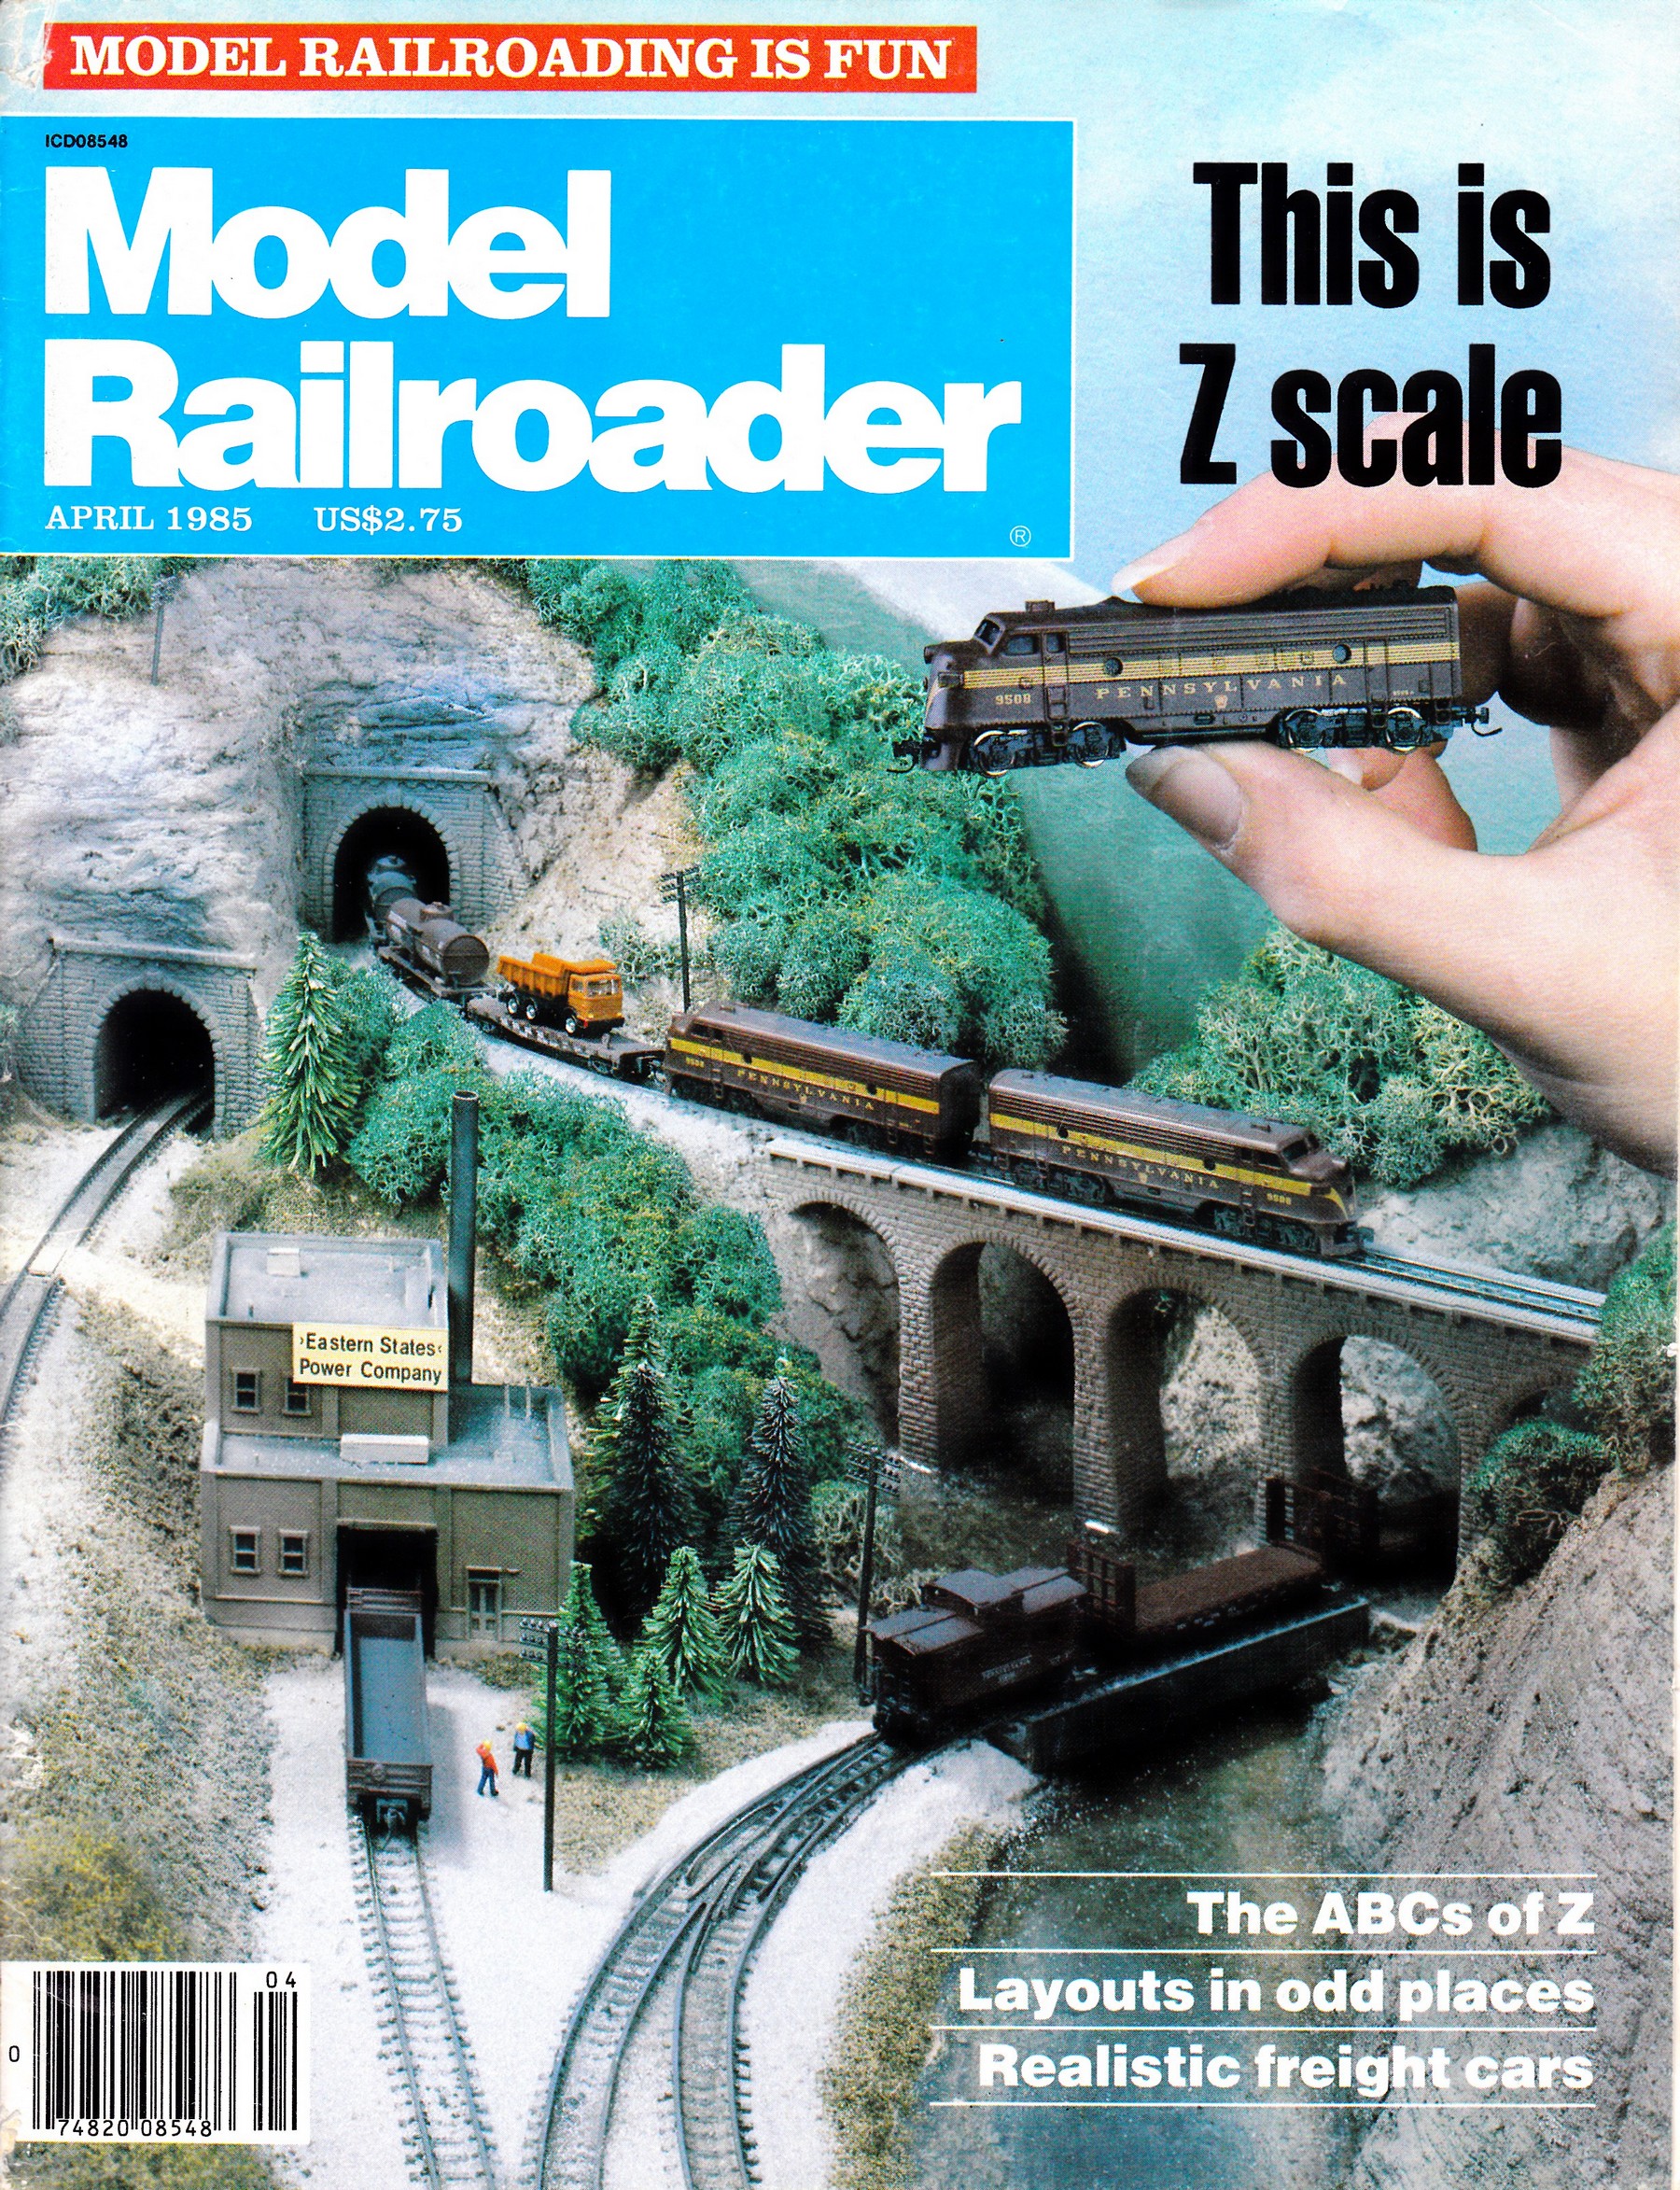
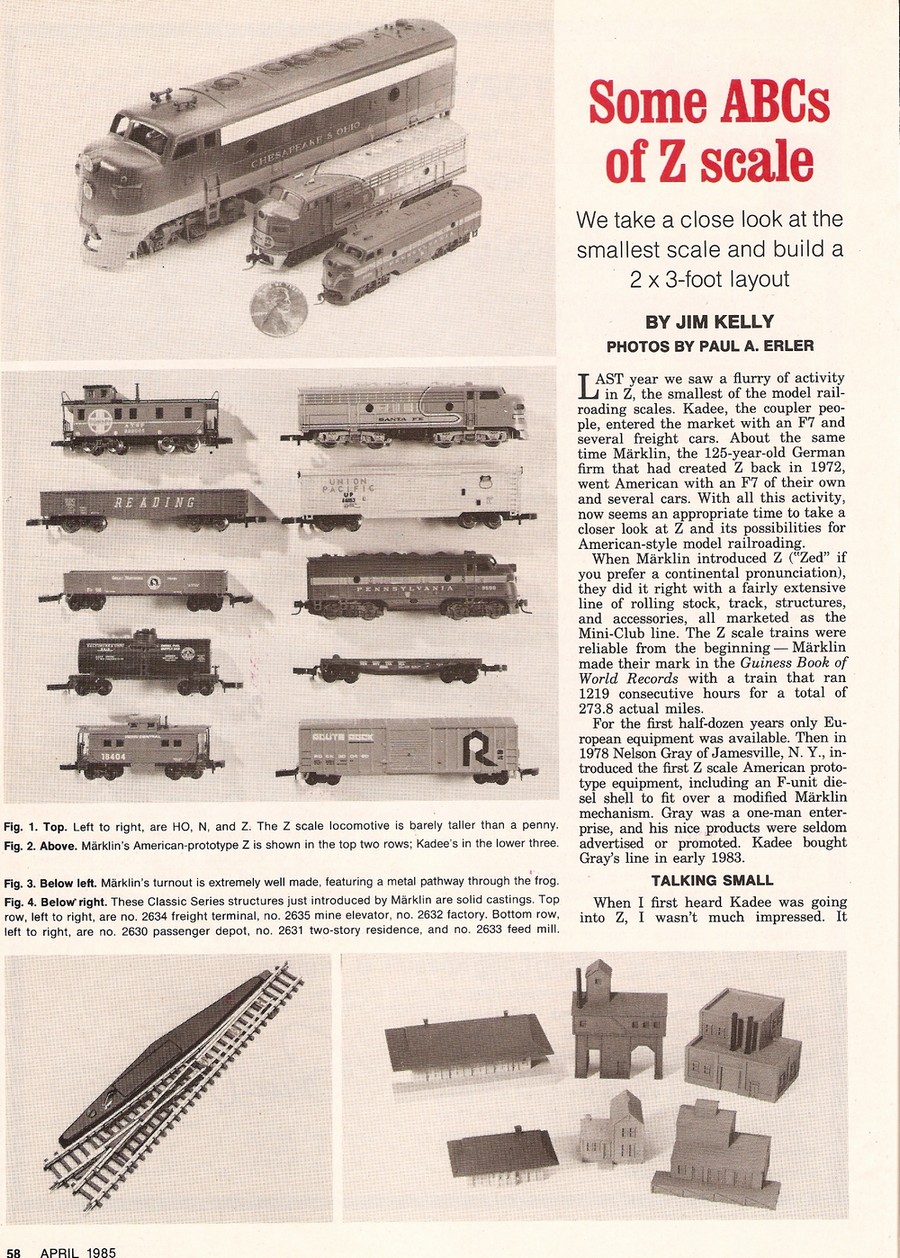
A
step up from this is to take some
inspiration from a trackplan someone else
has designed or even a layout someone
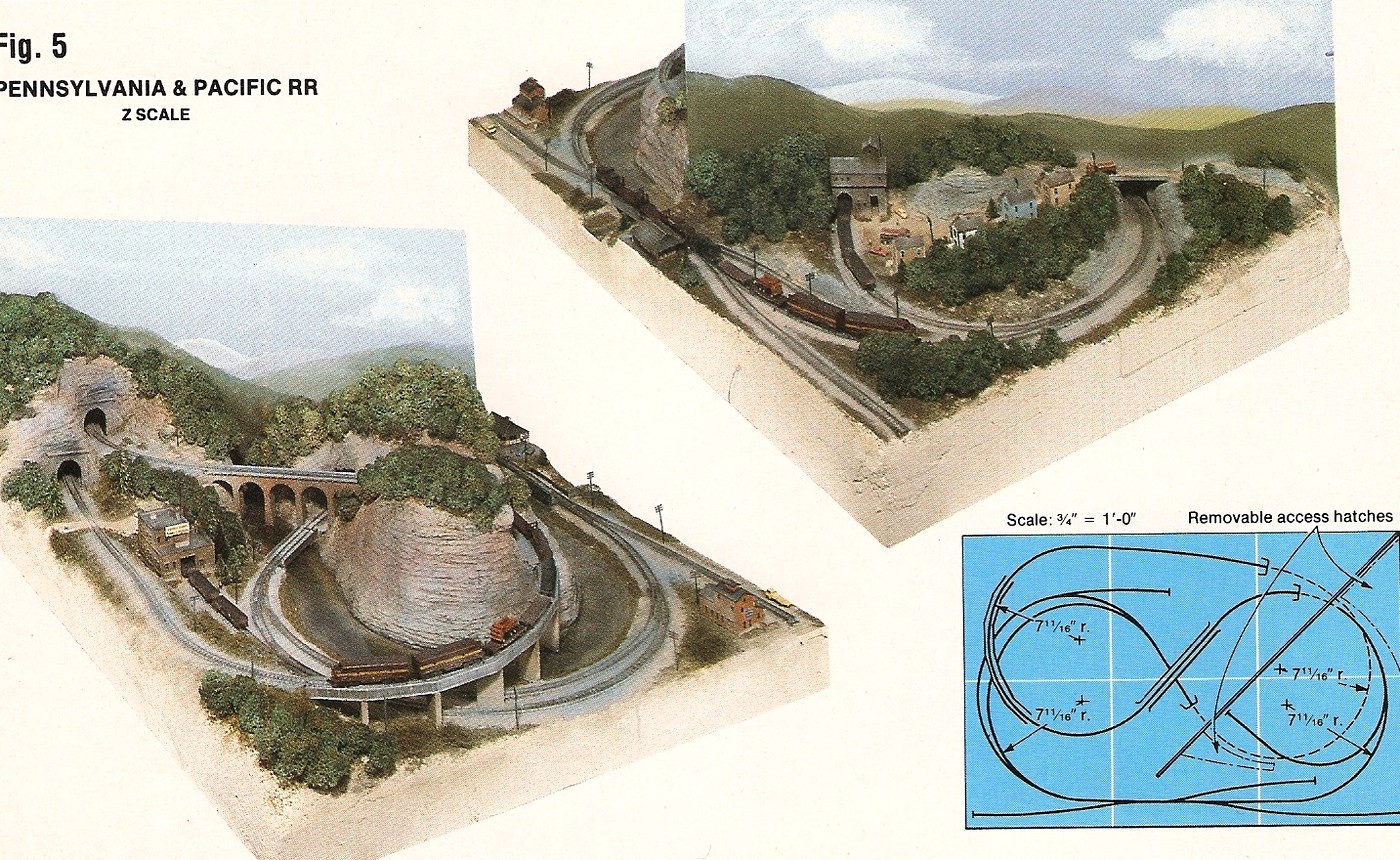
else has actually built. A very early Z
Scale example of the latter is the Pennsylvania
& Pacific, a layout that
featured prominently in the April 1985
issue of Model Railroader.
It was
accompanied by an in-depth portrait of (then still
fairly new) Z Scale and packed a lot of
model railroading and inspirational
allure into a mere 2'x3' (60x90cm). But
the transition from loop to layout can be
fraught with risks and tripwires.
|
|
 |
|
| |
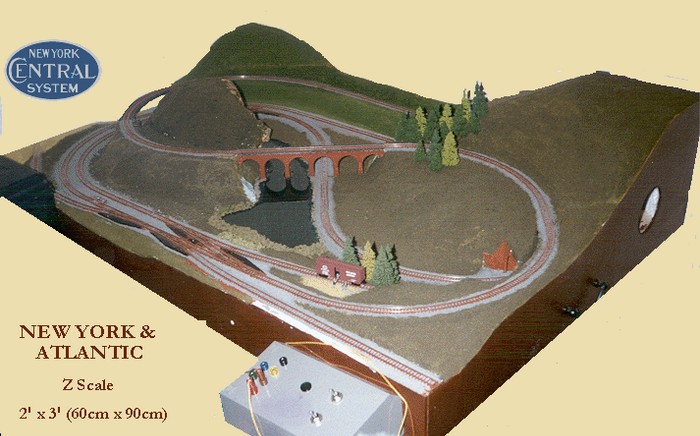
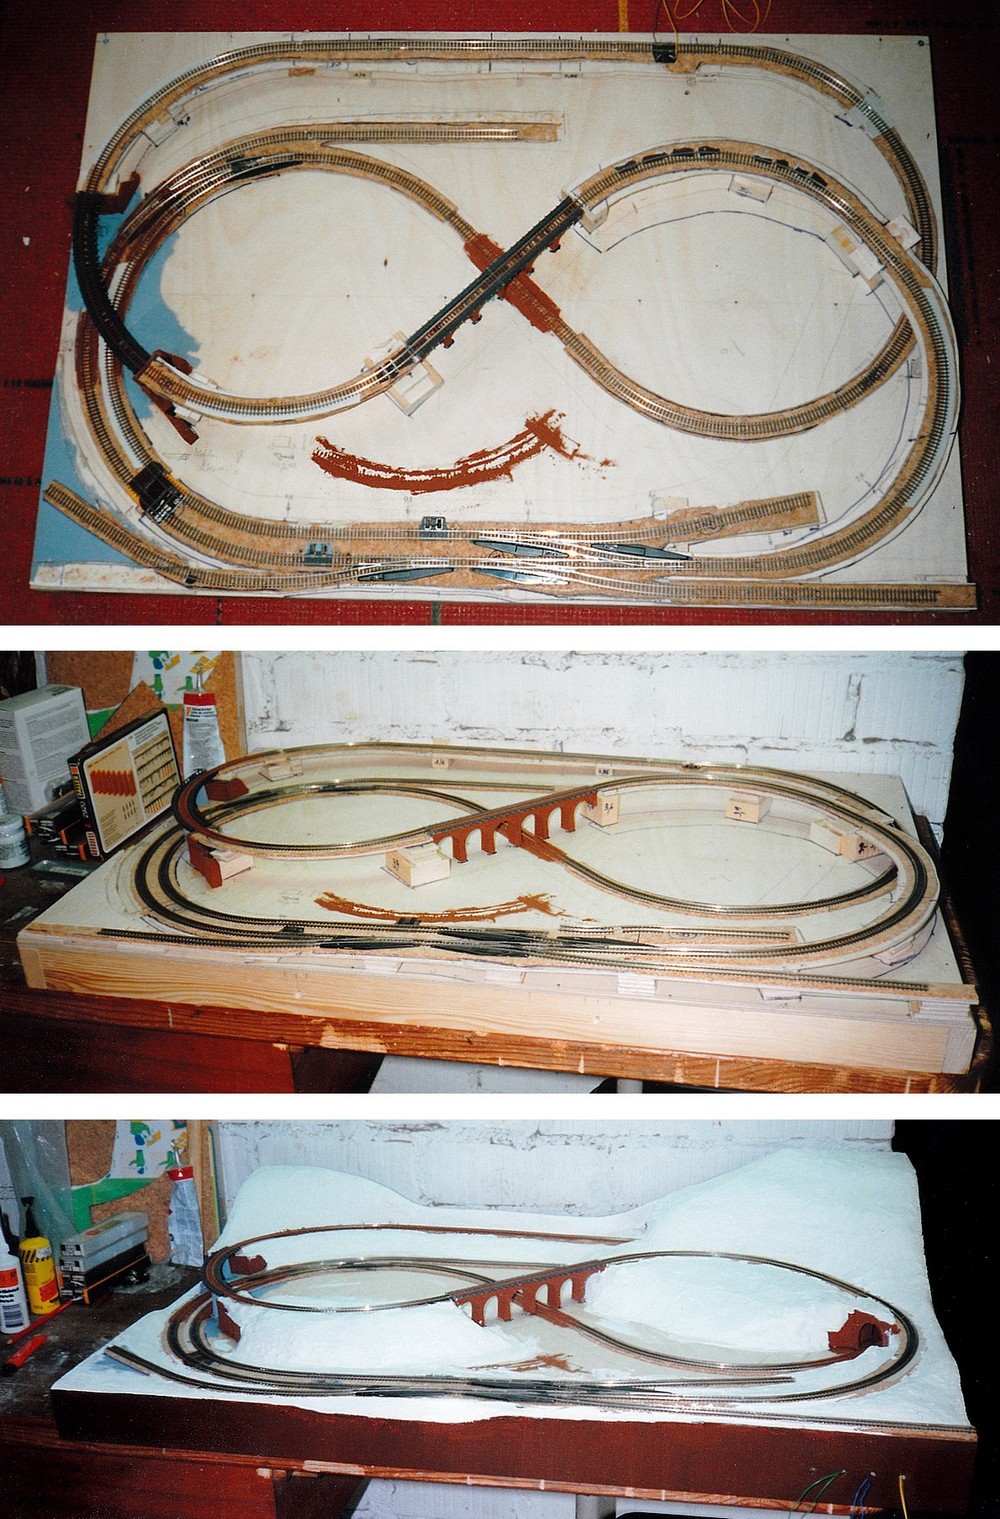
| Setting out to build a straightforward clone of the Pennsylvania &
Pacific with
regards to the track plan (a figure eigth folded
back onto itself), I decided to add my individual
touch to the layout by leaving out most of the
hidden track along with the scenic divider
running down the middle of the layout - which proved to be a huge
mistake. Whilst the layout was fun to build, simplifying the scenic contours
seriously diminished the visuals and resulted in
a somewhat disappointingly uninteresting layout. |
| |
| It was a classic
false start that completely derailed my
interest in Z Scale for a while. Linear
shelf-size layouts in N and eventually
HO/OO scale were fun to build and operate
- but they didn't offer the delights of
continuous running. I therefore dipped back
in and out of Z Scale once every few
years, but none of the approaches
(modular or small single baseboard
layouts) were able to rerail things. It
almost seemed like Z Scale just wasn't
right for me - until I came across David
K. Smith's James River Branch layout and website by chance in late 2011.
|
|
 |
|
| |
| I
was completely mesmerized not only by his superb
modelling efforts but also by the approach (you
might even say philosophy) to modelling in Z
Scale that he formulated (which also happened to
include the assertion that false starts are, quite simply, part of the
modelling process). His layout was small and a
simple single track affair, measuring a mere
15"x36" (38x92 cm), but it was
massively inspirational. I also got almost
everything wrong about it all, and it sent me on
a decades-long back-and-forth journey from one
layout project to the next - none of which really
worked out. And it took me an embarrassingly long
time to realise why. |


